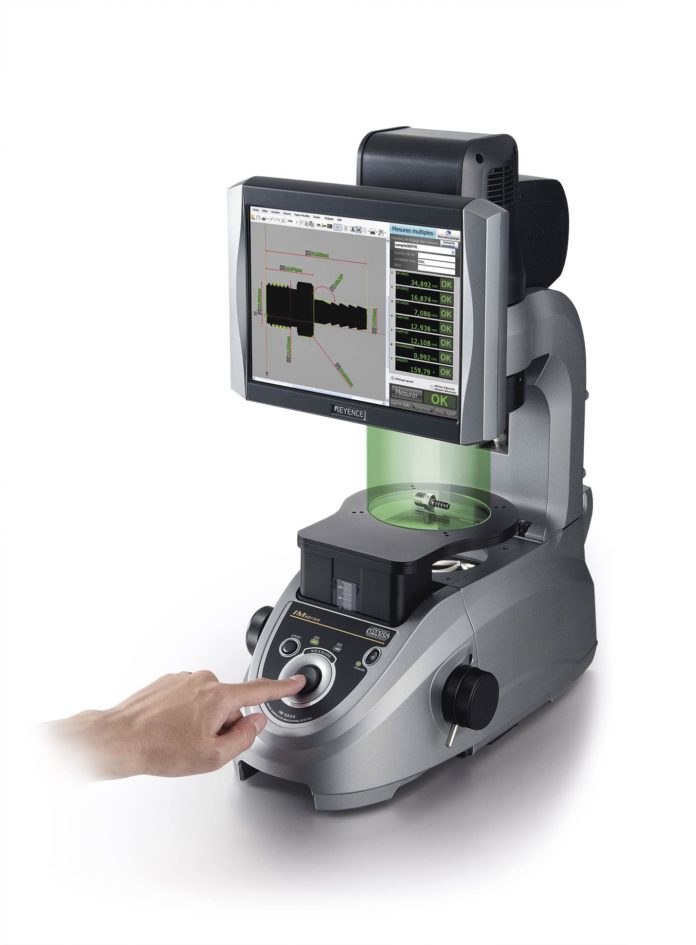
JMD Étiquettes checks the dimensions of all the labels it produces at its Bondoufle (91) manufacturing site. Manual measuring operations are now handled by Keyence's IM series digital profile projector. In all industrial processes and throughout the supply chain, labels remain the preferred and simplest means of ensuring product or equipment traceability. In the aeronautics sector, labels are associated with all the parts that make up an aircraft, from engines to landing gear and braking systems. In this field, the level of requirements is high, as labels are subject to durability constraints and quite severe environments. The labels, generally made of steel or aluminum, are strictly dimensioned by their designers. "We must guarantee tolerances of ± 100 µm indicated on the drawings supplied by our customers."says Sylvestre Cottard, Managing Director of JMD Étiquettes.
All the operator has to do is place the label to be inspected on the board of the Keyence imaging system. The IM recognizes the part and automatically performs dimensional measurements according to predefined parameters, with an accuracy of up to 0.X µm. Measured values are transmitted via the Ethernet network to a centralized database, guaranteeing traceability of operations. At JMD Étiquettes' Bondoufle site, four people are authorized to use the profile projector. "They have only had a little training in its use, because the IM, although a high-performance measuring system, is fairly easy to learn," notes Sylvestre Cottard. The IM now inspects 300 to 400 labels a year, guaranteeing compliance with the dimensions and tolerances demanded by customers. "Previously, two people were in charge of controls. They were often overworked. Now, one person is enough for this operation. We've gained in productivity while improving the quality of measurements", concludes Sylvester Cottard.


